Samples
What is a sample
A sample is a piece of recorded sound stored as a file: a single drum hit, a guitar chord, a vocal phrase, the rain on a window. The word comes from how digital audio works: a microphone’s signal is measured (sampled) tens of thousands of times per second, and those measurements are the sound. A file at 48 kHz holds 48,000 measurements per second for each speaker.
Musicians use samples in two ways:
- As material: a drum loop, a vocal line or a texture placed on an audio track and arranged like any other clip. Much of hip-hop and electronic music is built this way.
- As instruments: many recordings of a real instrument, one per key and strength, played from notes. That is what a sampled instrument is.
Samples come as files in formats such as WAV and FLAC (full quality, larger) or MP3 and OGG (compressed, smaller). Before using a sample in music you publish, check its licence: many are free to use, some require crediting the author, and some forbid commercial use.
Bringing audio in
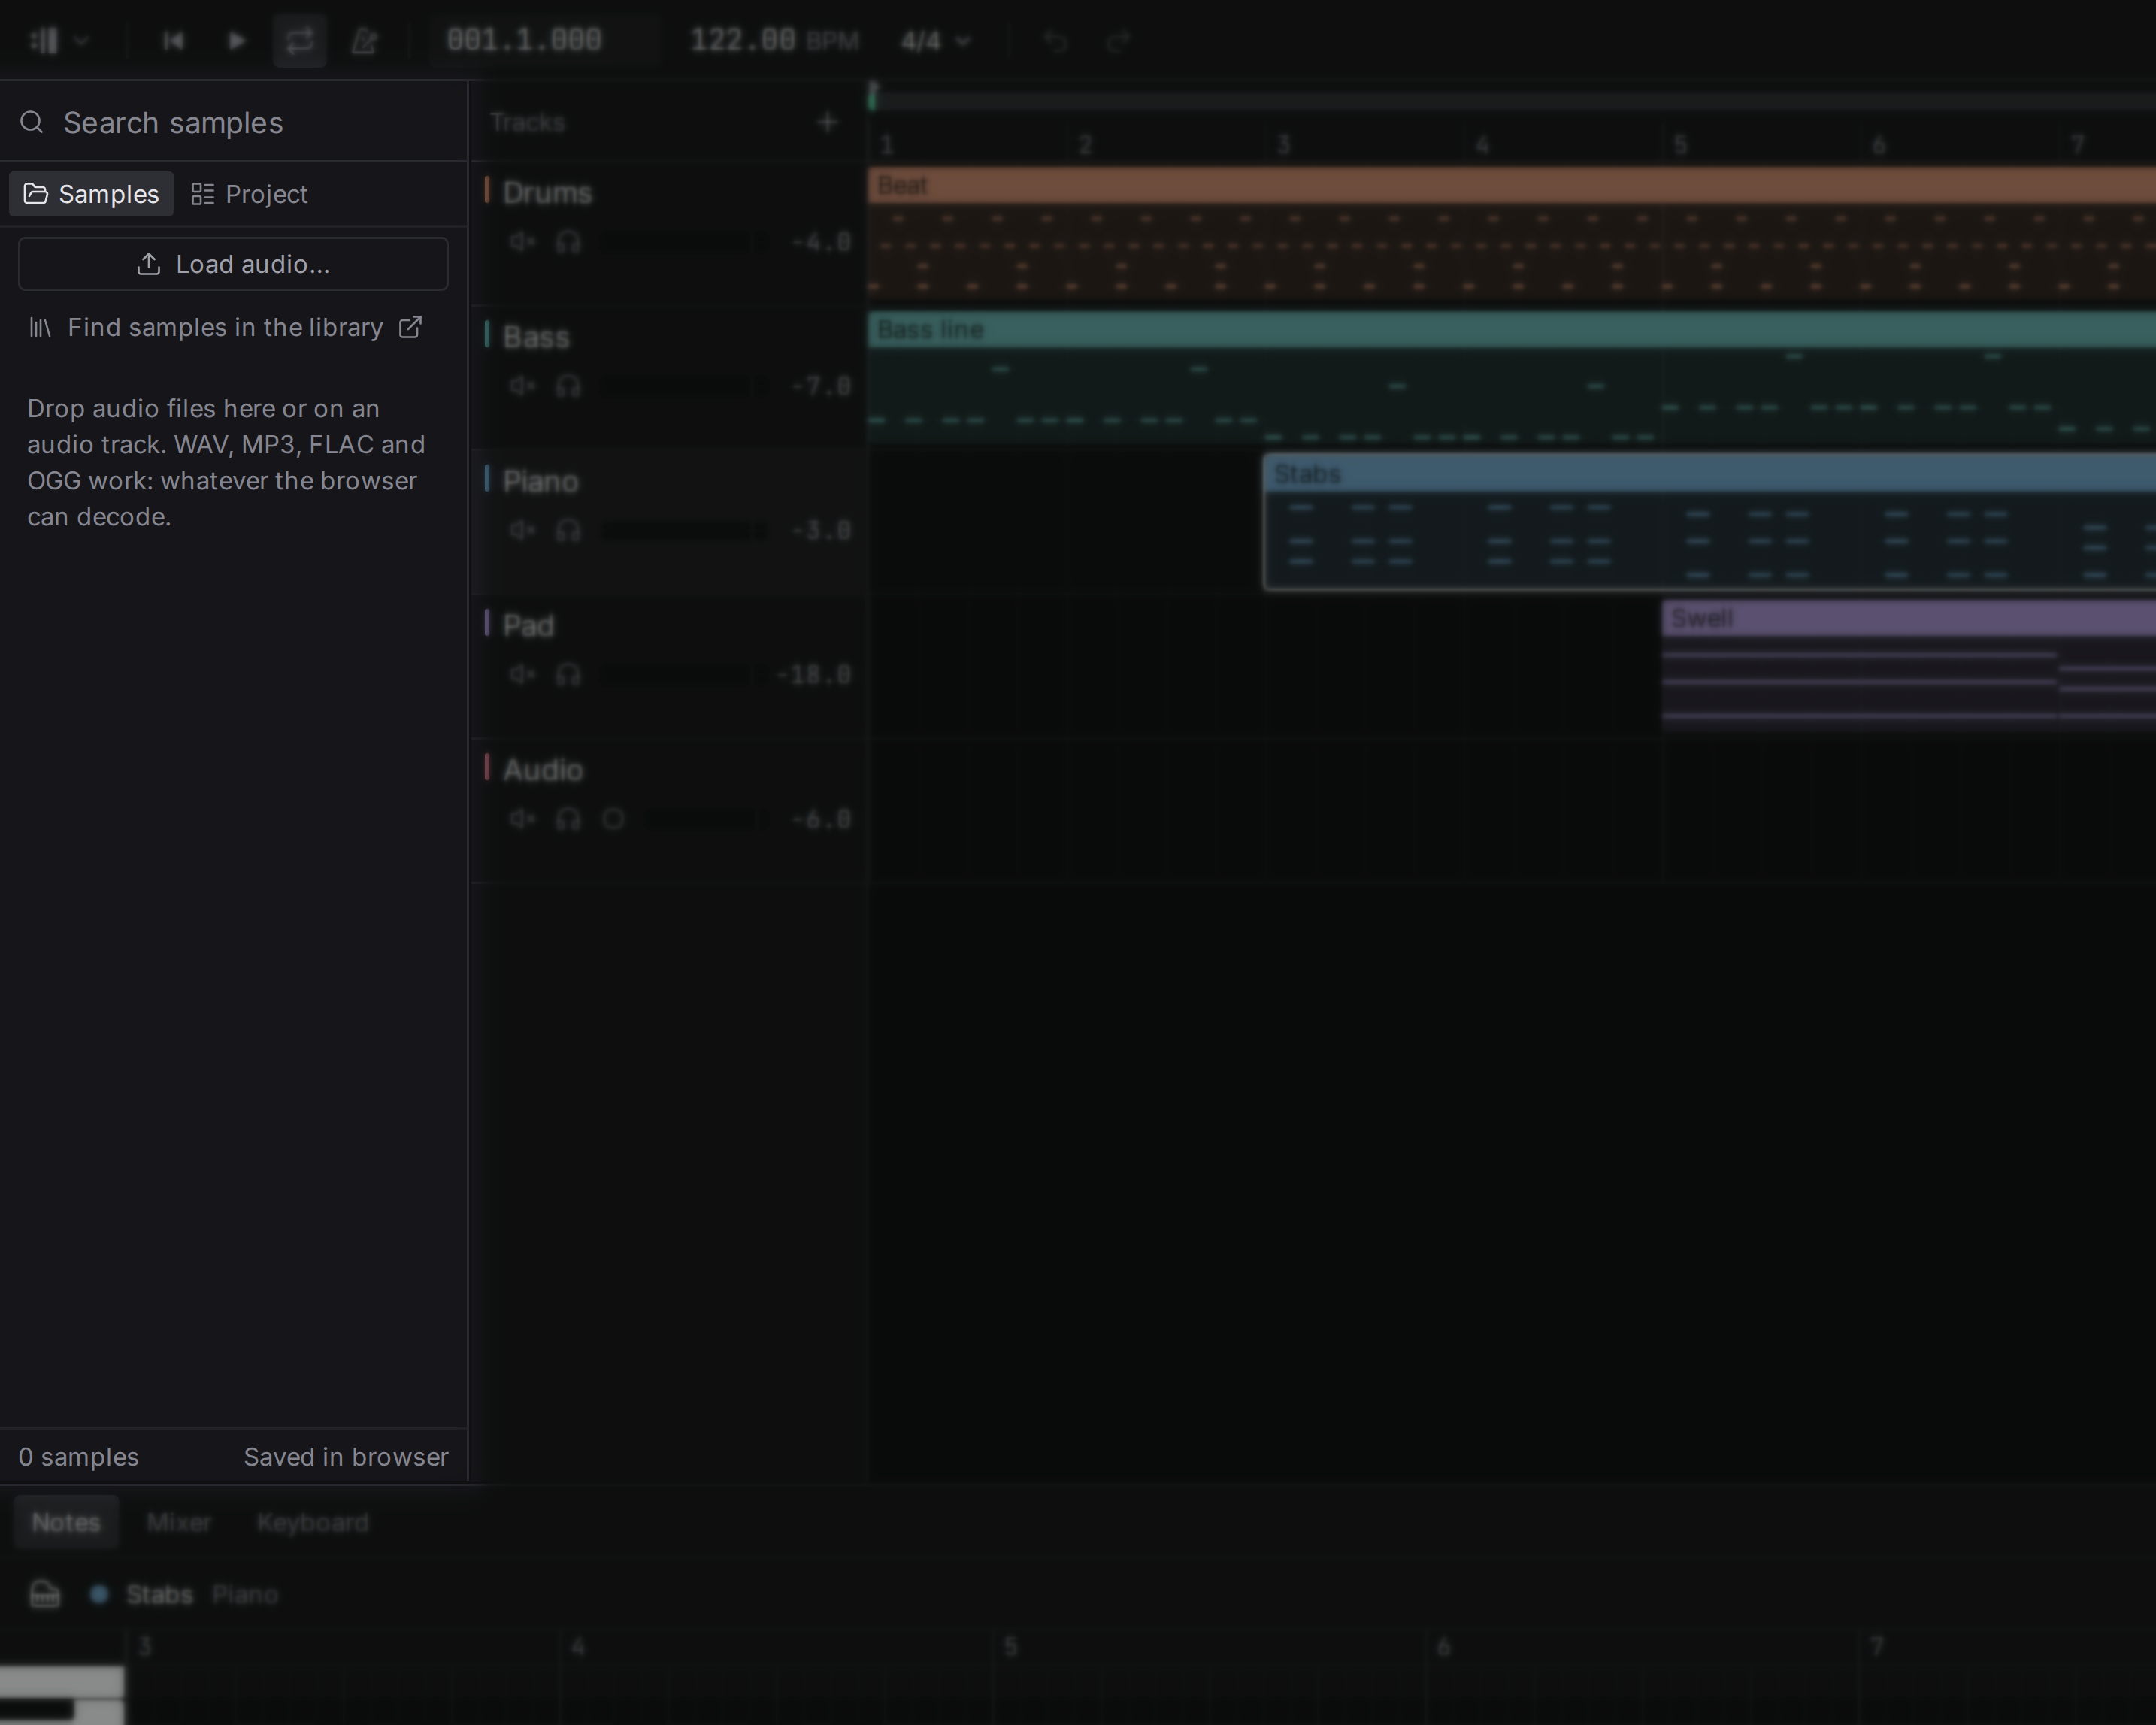
There are two ways to bring audio into a project:
- Drag files from your computer onto a track in the arrangement. They land where you drop them, one after another. Dropping on an instrument track, or below the last track, creates a new audio track for them.
- Load audio in the browser on the left: the files are placed on the selected audio track, or on a new one, at the cursor.
Loaded files also appear in the browser’s list. From there you can drag a sample onto any audio track to place it again. While you drag, the arrangement shows where the clip will land and its name. Dropping on an instrument track, or below the last track, creates a new audio track; Esc cancels the drag. In the desktop app, double-clicking a sample in the list also places it, at the cursor on the selected audio track or on a new one.
Any format your browser can decode works: WAV, MP3, FLAC and OGG in all current browsers. The desktop app reads the same four. In the web studio, audio clips play at the speed they were recorded: changing the song’s tempo moves where they start, but does not stretch them. In the desktop app a clip can follow the tempo.
What the studio hears in a recording
In the desktop app, every recording that enters a project is listened to once, in the background: its tempo, where its first beat falls, and whether it is made of hits or of held sound. The browser’s list shows the result beside the recording, for example 96 BPM. The same file is never analysed twice on one computer.
How far to trust it:
- Tempo is reliable on material with a steady pulse, such as drum loops and rhythmic parts. On a held chord or a free vocal there is no pulse to find, and the studio then shows nothing instead of guessing. A loop can be heard at half or double its real tempo; the clip’s menu has a correction for exactly that, see The clip’s tempo.
- Key is shown only for held, tonal material and only when the studio is fairly sure, and it is still often wrong: it tends to name a neighbouring or the relative key. Treat it as a hint and check by ear.
Following the tempo
In the desktop app, right-click an audio clip to choose, under Tempo, how it keeps up with the song:
- Play as recorded: the clip plays at the speed it was recorded at, whatever the song’s tempo. For takes and whole mixes.
- Follow the tempo: the clip is stretched or squeezed so it stays on the beats when the tempo changes, and keeps its pitch. For loops.
- Follow the tempo, like tape: the clip stays on the beats by playing faster or slower, so its pitch rises and falls with the tempo, as a record or a tape would.
A loop you drop in follows the tempo by itself when it is short (up to 30 seconds) and the studio is sure of its tempo. A take you record never follows unless you ask.
Fitting a recording to a new tempo takes a moment and happens in the background. Until it is ready the clip plays as recorded, and the status bar says so; playback never waits for it. The studio chooses how to stretch from the material, hits or held sound, so there is no method to pick.
The clip’s tempo
To follow the song, a clip has to know its own tempo: the one it was recorded at. It starts as what the studio heard. When that is wrong, the same menu corrects it:
- Its tempo is half that: for a loop that plays twice too fast.
- Its tempo is twice that: for a loop that plays twice too slow.
- Its tempo is the song’s: says the recording was made at the tempo the song has now, so nothing is stretched until the tempo changes.
Transposing
Up a semitone and Down a semitone, under Sound in the clip’s menu, move the pitch of the recording without changing its length, up to two octaves either way. Small moves sound natural; large ones change the character of the sound, which can be the point.
Reversing
Reverse plays the recording backwards: a cymbal that swells into the beat, a reversed vocal before a phrase. Choosing it again turns the clip the right way round.
Clip level
Louder by 1 dB and Quieter by 1 dB change the level of this one clip, before the track’s fader and its devices. Use it to bring one quiet take up to the others without touching the track. A clip can go from 60 dB down to 24 dB up.
In the desktop app a recording’s clip also shows its level as a line across it: drag the line up or down to set the level by eye, from 24 dB down to 12 dB up, in steps of a tenth of a decibel.
Fades
A clip that starts or ends in the middle of a sound clicks. A fade removes the click: put the playhead inside the clip and choose, under Fades in the clip’s menu:
- Fade in to the playhead: the clip rises from silence and reaches its level at the playhead.
- Fade out from the playhead: the clip starts dying away at the playhead and is silent at its end.
- Remove fades: the clip starts and ends at its full level again.
In the desktop app a recording’s clip has a small handle at each top corner: drag it inward to draw the fade directly, as long or as short as you like. The handles do not snap to the grid.
Where the end of one clip overlaps the start of the next and both are faded, one hands over to the other at an even level: a crossfade. Splitting and duplicating a clip keep its fades.
All of these are also in the command palette, and each is one step to undo. The web studio has none of them yet.
Recording
To record your voice or an instrument through the microphone, press the arm button in an audio track’s header. On the web, the first time, the browser asks whether the studio may use the microphone. Then press play: everything the microphone hears is recorded while the song plays, and when you stop, the take appears as a clip on that track, starting where playback started. One Ctrl+Z removes it.
- In time: sound needs a few milliseconds to get from the studio to your speakers and from the microphone back in. The studio measures that delay and moves every take earlier by it, so what you played in time with the song lands in time with it.
- With the loop on, a take ends at the loop’s end, where playback jumps back.
- One track at a time is armed; arming another disarms the first. Disarming releases the microphone, and on the web the browser’s recording indicator goes off.
- Headphones are best: the microphone does not hear itself through the speakers, but it does hear the song if it plays from speakers.
- Nothing is changed on the way in: no noise suppression, no automatic level. Set the input level in your system’s sound settings so that the loudest part does not reach the top of the meter.
On the web, if the arm button shows a crossed-out microphone and the status bar says Microphone blocked, the browser was told not to let the studio use it. Allow the microphone for this site in the browser’s site settings (usually the icon at the left of the address bar), then press the arm button again.
Takes are kept like any loaded audio: see Where audio is kept.
Choosing the input
In the desktop app, Settings has a Recording input section. The arrows step through System default and every device on this computer that has an input: a built-in microphone, an audio interface, a USB microphone. Takes are recorded from the one shown. If that device is unplugged, recording stops with a message instead of quietly recording from a different one.
The web studio has no such choice: it records from the microphone the browser gives it, which you pick in the browser’s own site settings.
Hearing yourself
In the desktop app, Hear the input while a track is armed, in the same section of the settings, plays what the input picks up through the armed track while you record or rehearse. It goes through that track’s volume and pan, shows on its meter, and muting the track silences it.
It is off by default, because a microphone that hears the speakers feeds back into itself and howls: turn it on when you wear headphones. If the input and the output run at different sample rates there is nothing to hear, and the status bar says so.
The web studio cannot do this yet. There, use the direct monitoring of your audio interface if it has one.
Where audio is kept
In the desktop app, loaded audio and takes are kept with the project on your computer, and Save project as file… puts them inside the .flesance file. The rest of this section is about the web studio.
On the web, loaded audio is saved in your browser, next to the project, so after a reload the clips play as before. It stays on this computer: nothing is uploaded anywhere. The bottom of the browser panel says whether saving works:
- Saved in browser: everything loaded so far will come back after a reload.
- Storage full: the browser refused to store more. The newest audio works until you close the page; free some space (for example by clearing other sites’ data) and load it again.
- Not saved: this browser keeps nothing, as in a private window or with site data blocked. Audio works until you close the page.
A recording that no clip uses any more is deleted from the browser the next time the studio opens, so storage does not fill up with takes you threw away. A clip whose audio is missing shows offline and plays silence; load the file again to bring it back.